This is #TerraWeek challenge under the guidance of Shubham Londhe sir.
If you need Terraform installation steps or want to understand the basics of Terraform, kindly check out my Day 1 of TerraWeek challenge blog using the link below. 👇
Day 1: Introduction to Terraform and Terraform Basics
Introduction
Welcome back to TerraWeek Day 2! Today, we're diving into the exciting world of Terraform's HashiCorp Configuration Language (HCL). Whether you're just starting out on your Terraform journey or you're an experienced user looking to sharpen your skills, this guide has something for everyone. We'll take you through the fundamental concepts of HCL syntax and Terraform configurations in a way that's clear, concise, and easy to grasp. So, grab your coffee, settle in, and let's explore the world of Terraform together!
Getting Started with HCL
Before we dive into the intricacies of HCL syntax, let's take a moment to understand what HCL is and how it fits into the Terraform ecosystem. 🌐
What is HCL?
HashiCorp Configuration Language (HCL) is a configuration language designed specifically for defining infrastructure as code (IaC). It provides a simple and intuitive syntax for expressing infrastructure configurations in a human-readable format.
How do we use it?
In the context of Terraform, HCL serves as the language for writing Terraform configurations. These configurations describe the desired state of your infrastructure, including the resources you want to create, configure, and manage.

Step 1: Understanding HCL Blocks
Now that we have a basic understanding of what HCL is and why it's important, let's delve into its syntax and explore how we can use it to define our infrastructure. 🧩
HCL blocks serve as the foundation of your Terraform configurations, providing a structured way to define resources and data sources. Think of them as the building blocks of your infrastructure. Here's how to recognize and use them:
Syntax: Each block starts with a keyword, like
resourceordata, indicating its purpose.Structure: After the keyword, you specify the type of block (e.g.,
aws_instancefor an AWS EC2 instance) and give it a label for identification.Example: Suppose you want to create an AWS EC2 instance. Your HCL block would look like this:
resource "aws_instance" "my_instance" {
  // Configuration parameters and arguments go here
}
Step 2: Parameters and Arguments
Now, let's understand how parameters and arguments work within HCL blocks:
Parameters: These define the characteristics or attributes of the resource or data source you're configuring.
Arguments: They provide specific values for these parameters, such as the instance type, AMI ID, or subnet ID.
Step 3: Resource Types and Data Sources
Terraform offers a rich collection of resource types for provisioning infrastructure and data sources for fetching external data. Here's what you need to know:
Resource Types: These represent the infrastructure components you want to manage, like AWS instances or Docker containers.
Data Sources: These enable Terraform to fetch information from external systems, such as AWS AMIs or GitHub repositories.

Mastering Variables and Data Types
Variables are the secret sauce that adds flavor to your Terraform configurations. 🌶️
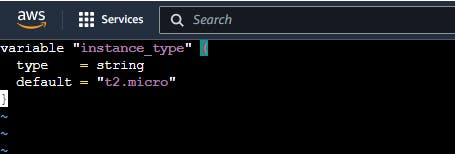
By defining variables in a separate file (variables.tf), you can parameterize your configurations and make them more dynamic.
variable "instance_type" {
  type    = string
  default = "t2.micro"
}


Using these variables in your main configuration file (main.tf), you can create reusable and customizable infrastructure components.
resource "aws_instance" "my_instance" {
  ami           = "ami-0e0bf53f6def86294"
  instance_type = var.instance_type
}


Crafting Terraform Configurations with HCL
Now, let's put theory into practice and dive into the art of crafting Terraform configurations. 🎨
Start by enhancing your configurations with the necessary providers, such as AWS or Docker. These providers act as gateways to external APIs, enabling you to interact with various cloud platforms and services.
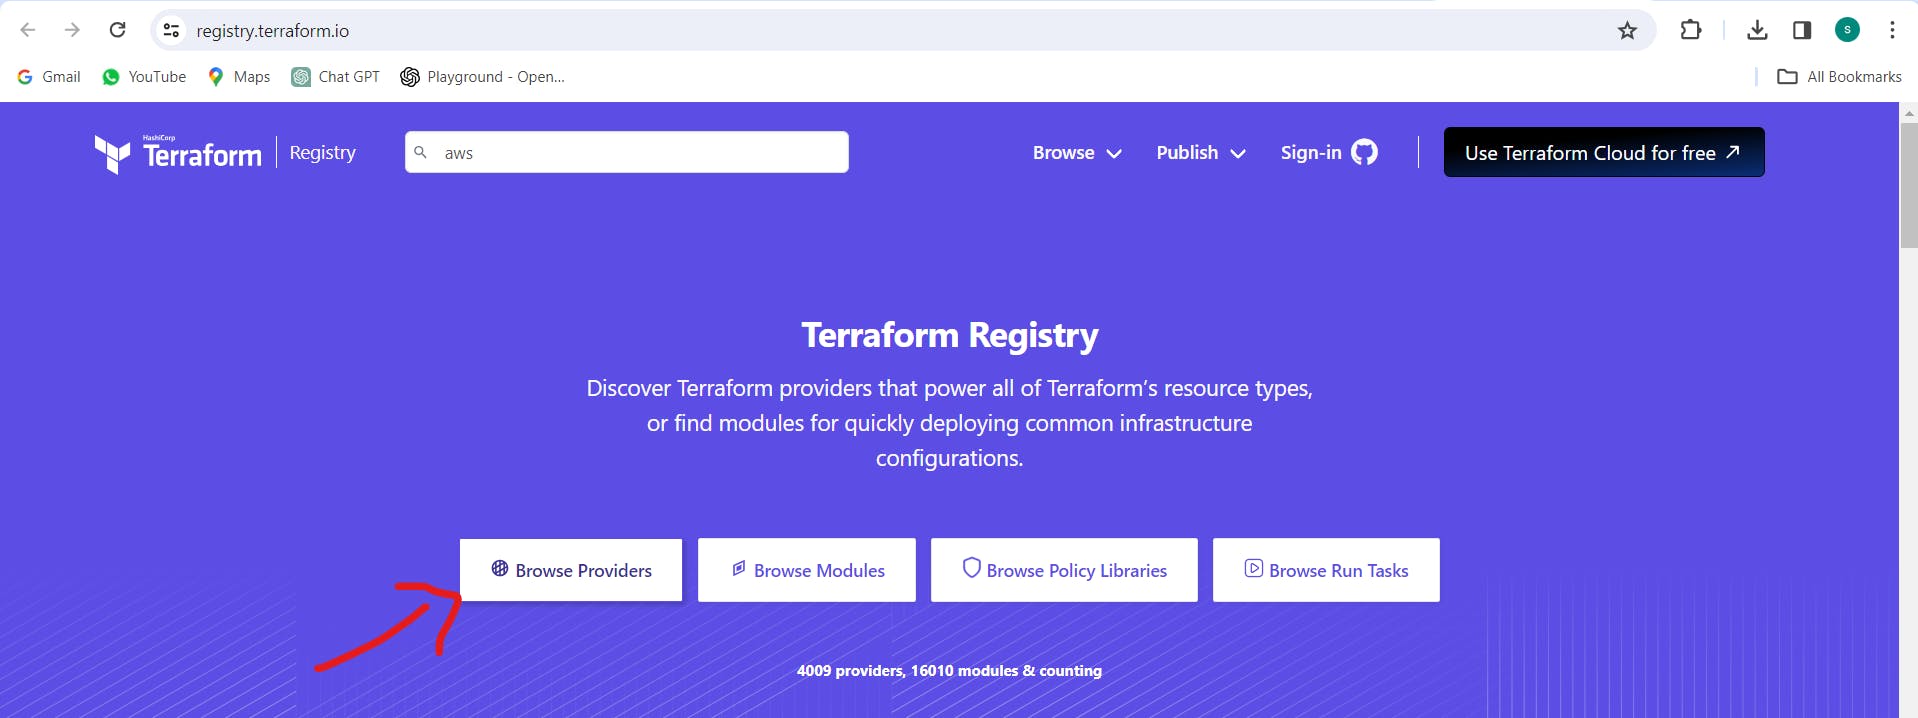
To add providers like AWS or Docker, you can visit the Terraform Registry:
Visit Terraform Registry in your web browser.

Search for the provider you need, such as "AWS" or "Docker".

Copy the provider configuration snippet provided on the provider's page.

Paste the snippet into your Terraform configuration file, typically
main.tforproviders.tf.
terraform {
  required_providers {
    aws = {
      source = "hashicorp/aws"
      version = "5.41.0"
    }
  }
}


Once you've added the required providers, it's time to test your configurations using the Terraform CLI. This iterative process allows you to validate your configurations and make any necessary adjustments before applying them to your infrastructure.
terraform init

terraform plan

terraform apply


Congratulations! 🎉 Our instance has been successfully created using Terraform!

Now, let's destroy it using the command: 🗑️
terraform destroy


Real-time use case: Let's say you're deploying a microservices architecture using Docker containers on AWS ECS. By leveraging HCL syntax and Terraform configurations, you can automate the deployment process and ensure consistency across your infrastructure.
Conclusion
Well done! 🌟 You've taken the first step towards mastering Terraform configuration using HCL syntax. With this newfound knowledge, you have the power to build, manage, and scale your infrastructure confidently. Remember to keep exploring, experimenting, and fine-tuning your configurations. In the world of DevOps, there are endless possibilities waiting for you to explore! 🚀
