This is#90DaysofDevopschallenge under the guidance ofShubham Londhesir.
Welcome to Day 31 of our DevOps journey! Today, In this guide, we'll walk through the process of setting up your very first Kubernetes cluster using Minikube. Before we begin, let's ensure we have all the prerequisites installed, including Docker. You'll learn how to install Docker, then Minikube, and finally create a pod running Nginx. Let's dive in.
What is Minikube?
Minikube serves as a gateway to the Kubernetes universe, offering a convenient way to set up a local Kubernetes cluster effortlessly. Whether you're on macOS, Linux, or Windows, Minikube has got you covered. It provides the full Kubernetes experience in a lightweight package, making it perfect for newcomers to containerization and even for projects in the realms of edge computing and the Internet of Things.

Key Features of Minikube
Let's highlight some of the key features that make Minikube a must-have tool in your DevOps arsenal:
Latest Kubernetes Support: Stay up-to-date with the latest Kubernetes releases, plus compatibility with several previous versions.
Cross-Platform Compatibility: Whether you're rocking Linux, macOS, or Windows, Minikube is your reliable companion.
Flexible Deployment Options: Deploy Minikube as a VM, container, or even on bare-metal, catering to your specific setup preferences.
Multiple Container Runtimes: Choose from various container runtimes like CRI-O, containerd, or Docker, adapting to your environment seamlessly.
Blazing-Fast Image Load: Enjoy direct API endpoints for lightning-fast image loading and building, enhancing your development workflow.
Advanced Feature Set: Benefit from advanced features like LoadBalancer, filesystem mounts, FeatureGates, network policy, and more.
Easy Application Installation: Leverage Minikube's addons for hassle-free installation of Kubernetes applications, simplifying your management tasks.
CI Environment Support: Seamlessly integrate Minikube into common CI environments, ensuring smooth sailing across your development pipeline.
Prerequisites:
Before we start with Minikube, let's ensure you have Docker installed on your machine. Docker will be used by Minikube to manage containers within the Kubernetes cluster.
Task 1: Installing Docker
First, let's get Docker installed on your computer. Here's how:
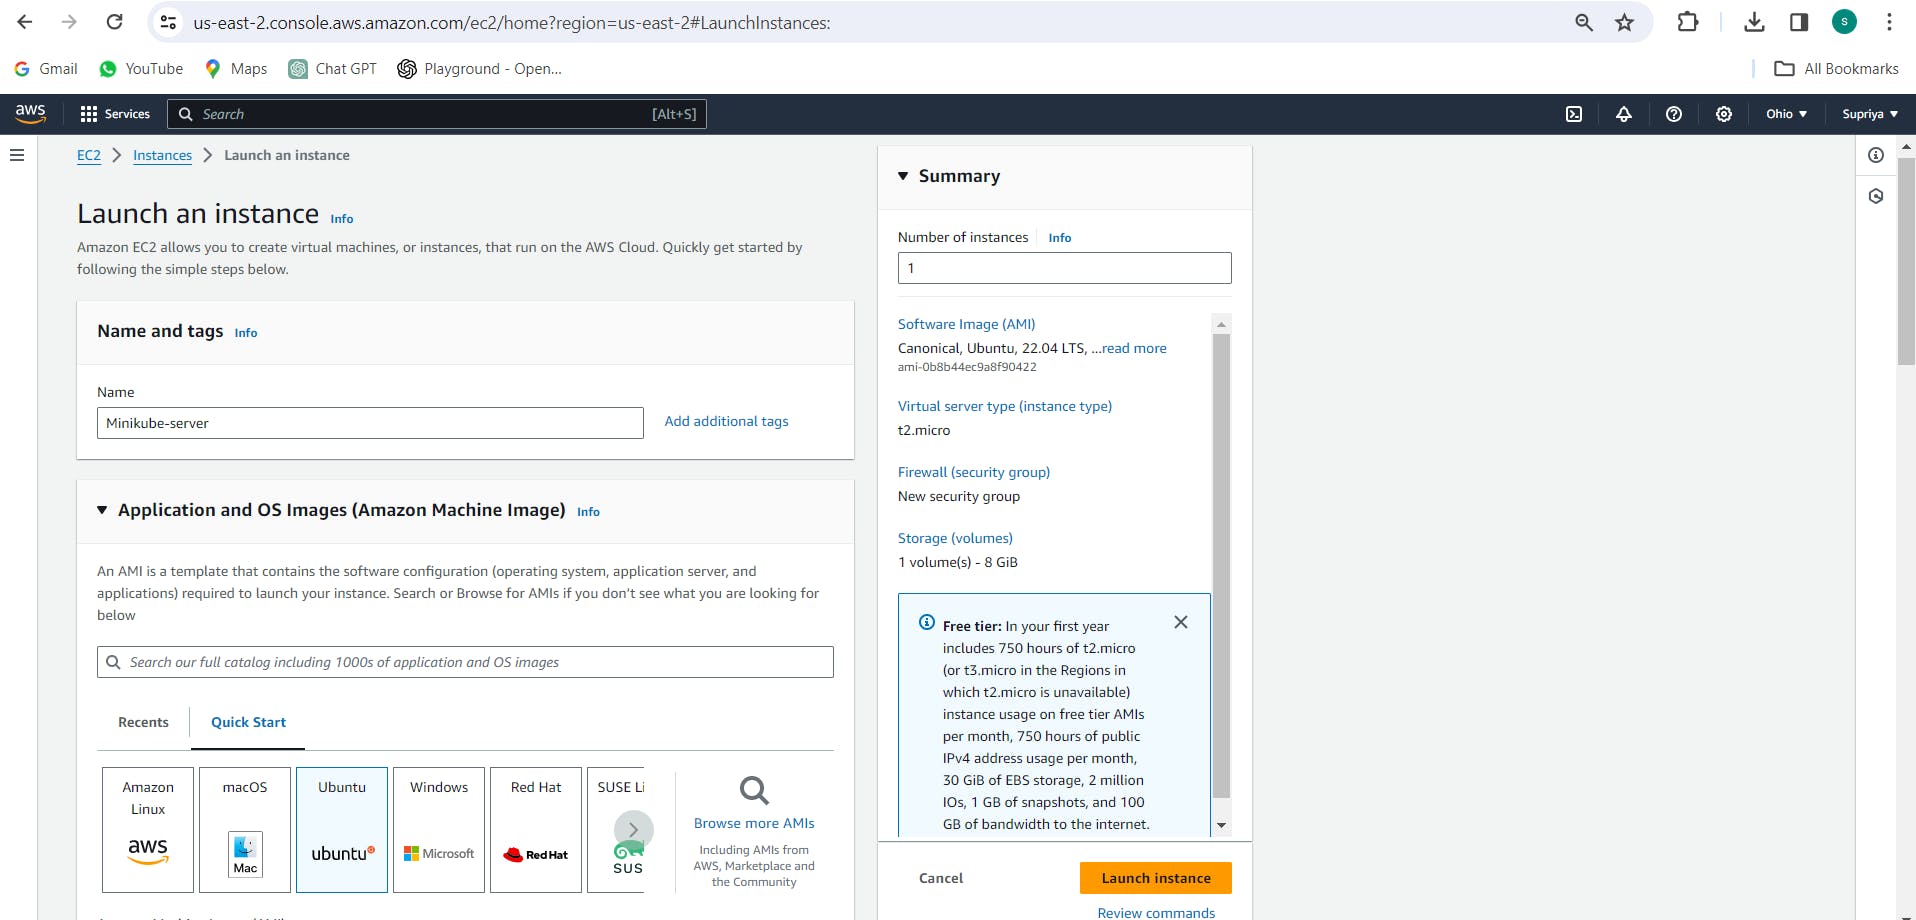
Step 1: Launching an EC2 Instance
Go to the AWS website and sign in.

Click on "Launch Instance" in the EC2 section.
Choose an instance type and configuration, and name your instance
minikube-server
Launch the instance and wait for it to be ready.

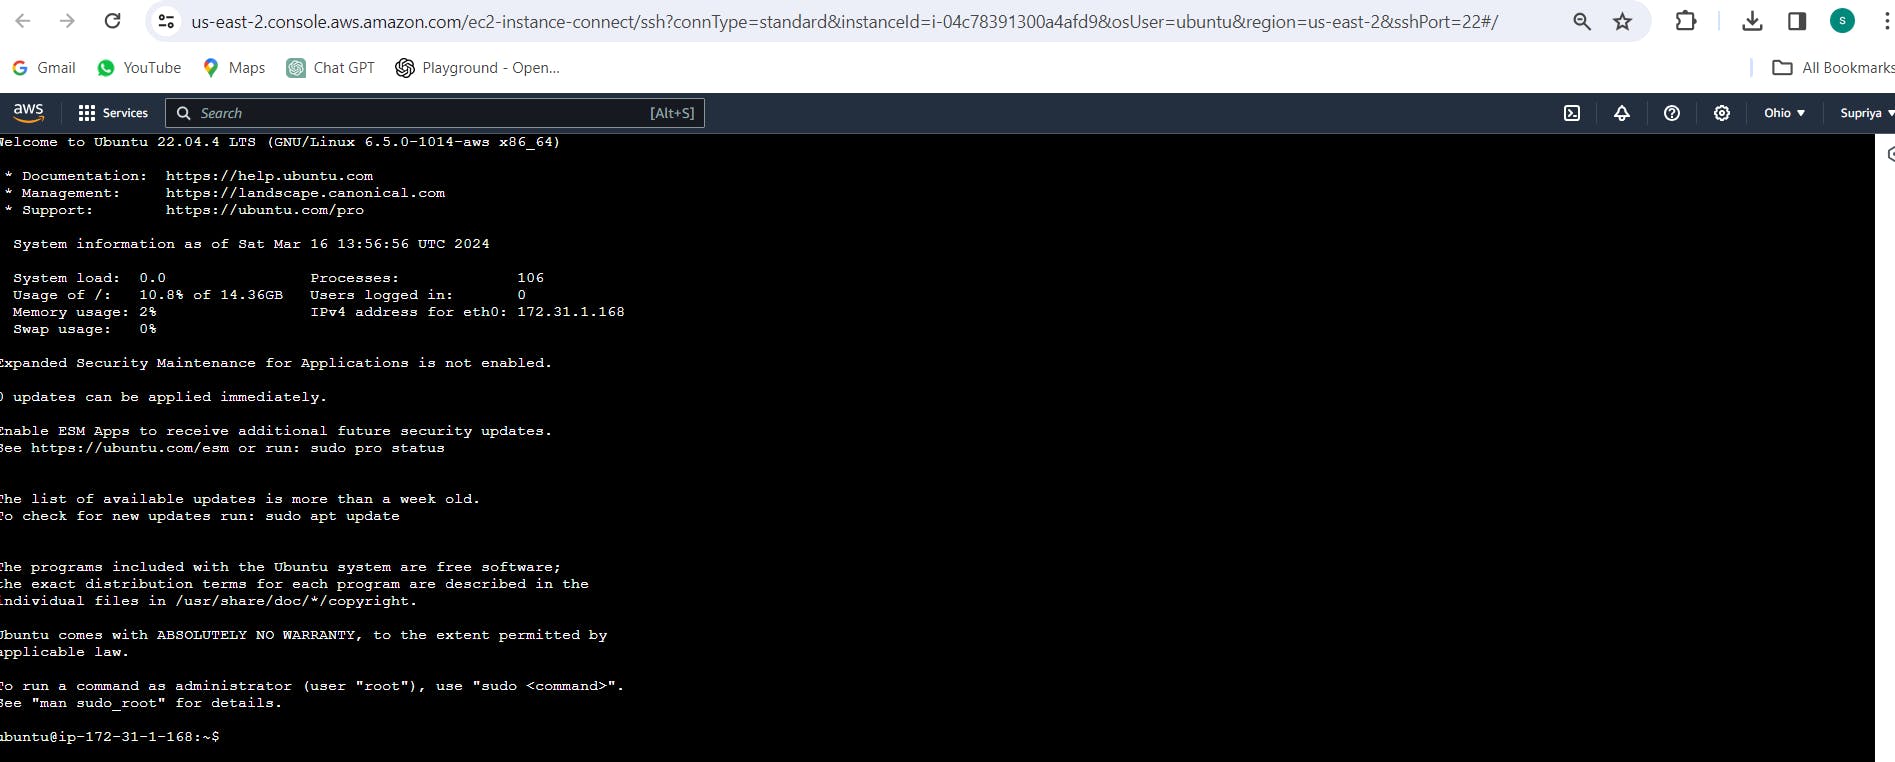
Once it's ready, connect to it using SSH.

Step 2: Update Package Repositories Open a terminal window on your Linux machine.
Run the following command to update the package repositories:
sudo apt update -y

Step 3: Install Docker Once the package repositories are updated, run the following command to install Docker:
sudo apt install docker.io

Step 4: Verify Docker Installation After the installation is complete, you can verify Docker's installation by checking its version. Run the following command:
docker --version

If Docker is installed successfully, you should see the version number displayed in the output.
Step 5: Start Docker Service To start the Docker service, run the following command:
sudo systemctl start docker
Step 6: Enable Docker Service (Optional) If you want Docker to start automatically every time you boot your system, run the following command:
sudo systemctl enable docker

Step 7: Grant Permissions to Docker
To use Docker commands without sudo, add your user to the Docker group:
sudo usermod -aG docker $USER
Log out and log back in for the group membership changes to take effect.
That's it! Docker is now installed and ready to use on your Linux machine. You can proceed with installing Minikube, kubectl and creating your Kubernetes cluster.
Task 2: Installing Minikube and kubectl
Now that Docker is set up, let's move on to installing Minikube and kubectl, the Kubernetes command-line tool. Follow these steps:
- Update Package List: Open your terminal and execute the following command to ensure you have the latest package information:
sudo apt update -y
sudo apt upgrade -y

- Install Dependencies: Install the necessary dependencies for Minikube:
sudo apt install -y curl wget apt-transport-https

- Download and Install Minikube Binary: Fetch the Minikube binary using curl, make it executable, and move it to your PATH:
curl -LO https://storage.googleapis.com/minikube/releases/latest/minikube-linux-amd64
sudo chmod +x minikube-linux-amd64
sudo mv minikube-linux-amd64 /usr/local/bin/minikube

Download and Install kubectl
Download the latest version of kubectl using curl, make it executable, and move it to your PATH:
curl -LO https://storage.googleapis.com/kubernetes-release/release/`curl -s https://storage.googleapis.com/kubernetes-release/release/stable.txt`/bin/linux/amd64/kubectl
sudo chmod +x ./kubectl
sudo mv ./kubectl /usr/local/bin/kubectl

- Verify Installation: Confirm that Minikube and kubectl are installed correctly by checking their versions:
minikube version
kubectl version --client

- Start Minikube: Initialize Minikube and start a local Kubernetes cluster with the following command:
minikube start --driver=docker

- Verify Minikube Status: Ensure that the Minikube cluster is up and running by checking its status:
minikube status

Congratulations! You've successfully installed Minikube on your EC2 instance, setting the stage for our Kubernetes adventures.
Task-02: Creating Your First Pod on Kubernetes via Minikube
Before we wrap up, let's take a quick dive into Pods, the fundamental building blocks of Kubernetes.
Understanding Pods:
Pods are Kubernetes' smallest deployable units, encapsulating one or more containers, shared storage, and network resources. They represent a cohesive unit of deployment, ensuring co-location and co-scheduling of containers within the same context.
Creating a Pod with Nginx Example:
Create a YAML file named
nginx-pod.yamlwith the following content:
apiVersion: v1
kind: Pod
metadata:
  name: nginx
spec:
  containers:
  - name: nginx
    image: nginx:1.14.2
    ports:
    - containerPort: 80

- Apply the YAML file to create the Pod:
kubectl apply -f nginx-pod.yaml

- Verify that the Pod is running:
kubectl get pods

You should see the nginx-pod Pod in the list, indicating that Nginx is up and running within our Kubernetes cluster.
Conclusion:
Congratulations! You've successfully launched your first Kubernetes cluster with Minikube and deployed an Nginx pod. You've taken the first step into the exciting world of container orchestration. Keep exploring Kubernetes and experimenting with different resources to deepen your understanding.
